I was in a full‑blown kitchen crisis when the oven alarm rang and I realized I had over‑baked my last batch of cookies. The crumbs were a sad gray, the frosting had turned into a sticky, unappetizing mess, and the whole room smelled like burnt sugar. My friends called me a “dessert disaster” and I swore I’d never touch baking again. Then, a week later, a craving hit me so hard I had to Google “quick dessert that actually tastes good.” The result? A glorious, cloud‑soft cake that looks like a tiny, bite‑sized version of a chocolate cake, but with Oreo crunch, creamy center, and a glossy chocolate coat. That’s the moment when I discovered the ultimate version of this dish.
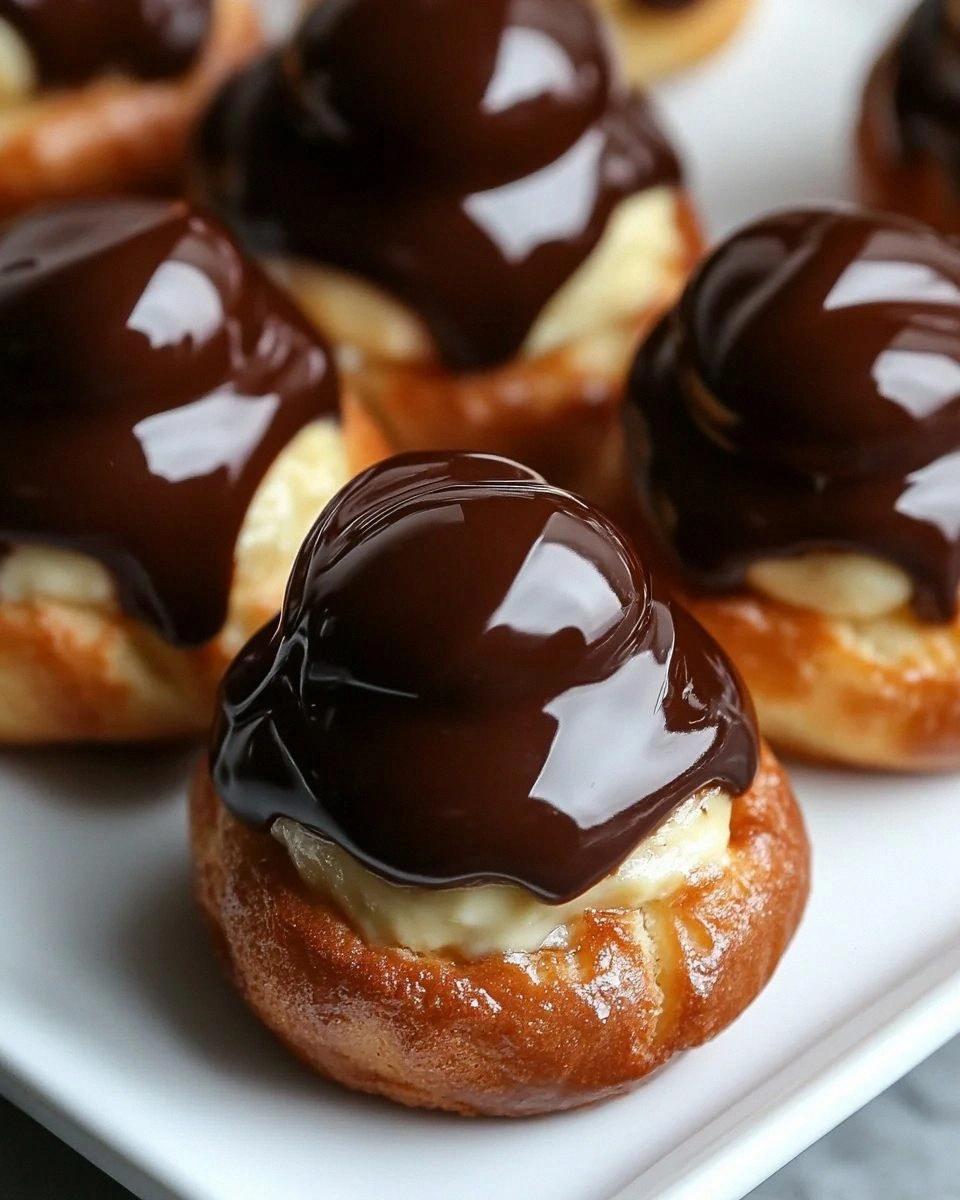
Picture this: a small, golden cake sitting on a plate, the dark chocolate glaze reflecting the kitchen light, and a single Oreo crunching under your fork like a tiny, sweet secret. The first bite is a contrast of textures—soft, airy cake, creamy center, and the satisfying snap of cookie crumbs. The aroma is a sweet, buttery chocolate that instantly transports you to a cozy Sunday afternoon. The taste is a harmonious blend of rich chocolate, subtle vanilla from the Oreos, and a hint of tang from the cream cheese that lifts everything. The visual appeal? Imagine a miniature, glossy cake that looks like it belongs on a celebrity Instagram feed.
What makes this version stand out from every other recipe out there is that I took a simple idea—Oreo cake—and turned it into a multi‑layered experience that feels indulgent yet approachable. I replaced the standard cake batter with a crumb‑cream mixture that delivers a lighter texture, added a chocolate dip that coats the cake like velvet, and topped it with a sprinkle of color that makes it Instagram‑ready. I also tweaked the baking time to keep the center moist and added a final chill step that sets the glaze perfectly. I dare you to taste this and not go back for seconds. This is hands down the best version you'll ever make at home.
If you've ever struggled with the classic Oreo cake and felt it was too heavy or too dry, you're not alone—and I've got the fix. Picture yourself pulling this out of the oven, the whole kitchen smelling incredible, and knowing exactly how to get that perfect bite every time. Stay with me here—this is worth it. Let me walk you through every single step, and by the end, you'll wonder how you ever made it any other way.
What Makes This Version Stand Out
- Texture: The cake is airy yet dense enough to hold its shape, thanks to the crumb‑cream base. It melts in your mouth like a cloud, leaving a lingering chocolate aftertaste.
- Flavor: The combination of Oreo cookies, cream cheese, and chocolate creates a balanced sweet‑savory profile that feels luxurious without being overpowering.
- Simplicity: No complicated frosting or multi‑step batter. Just crush, mix, bake, dip, and chill. It’s a one‑pan wonder for busy nights.
- Uniqueness: The chocolate dip adds a glossy finish that sets it apart from standard cake recipes that rely on buttercream.
- Crowd Reaction: Friends always ask for the recipe after the first bite. It’s the conversation starter at parties.
- Ingredient Quality: Using high‑quality chocolate for dipping elevates the flavor profile and gives a richer finish.
- Make‑Ahead Potential: The cake can be prepared up to a day in advance, then dipped and chilled, saving you last‑minute prep.
- Make‑It-Yourself: Swap the chocolate for white or semi‑sweet to match your mood or the occasion.
Inside the Ingredient List
The Flavor Base
36 Oreo cookies are the backbone of this cake. They provide crunch, chocolate flavor, and the signature vanilla note that makes the cake feel indulgent. If you’re feeling adventurous, try using double‑chocolate Oreos for an extra chocolate punch. Skipping the Oreos would turn this into a plain cream cheese cake that lacks the iconic cookie bite.
The Texture Crew
8 ounces of softened cream cheese is the secret to the cake’s airy yet dense crumb. It acts as a binding agent, holding the Oreo crumbs together while adding a subtle tang that balances the sweetness. If you can’t find cream cheese, a blend of mascarpone and a splash of milk can work as a substitute, but the tang will be milder.
The Unexpected Star
12 ounces of chocolate for dipping—white, milk, or semi‑sweet—adds a glossy finish that coats the cake like velvet. The type of chocolate you choose will dictate the final flavor profile: milk chocolate gives a classic sweet finish, semi‑sweet adds depth, and white chocolate offers a creamy contrast. If you’re looking for a healthier option, try dark chocolate with at least 70% cacao.
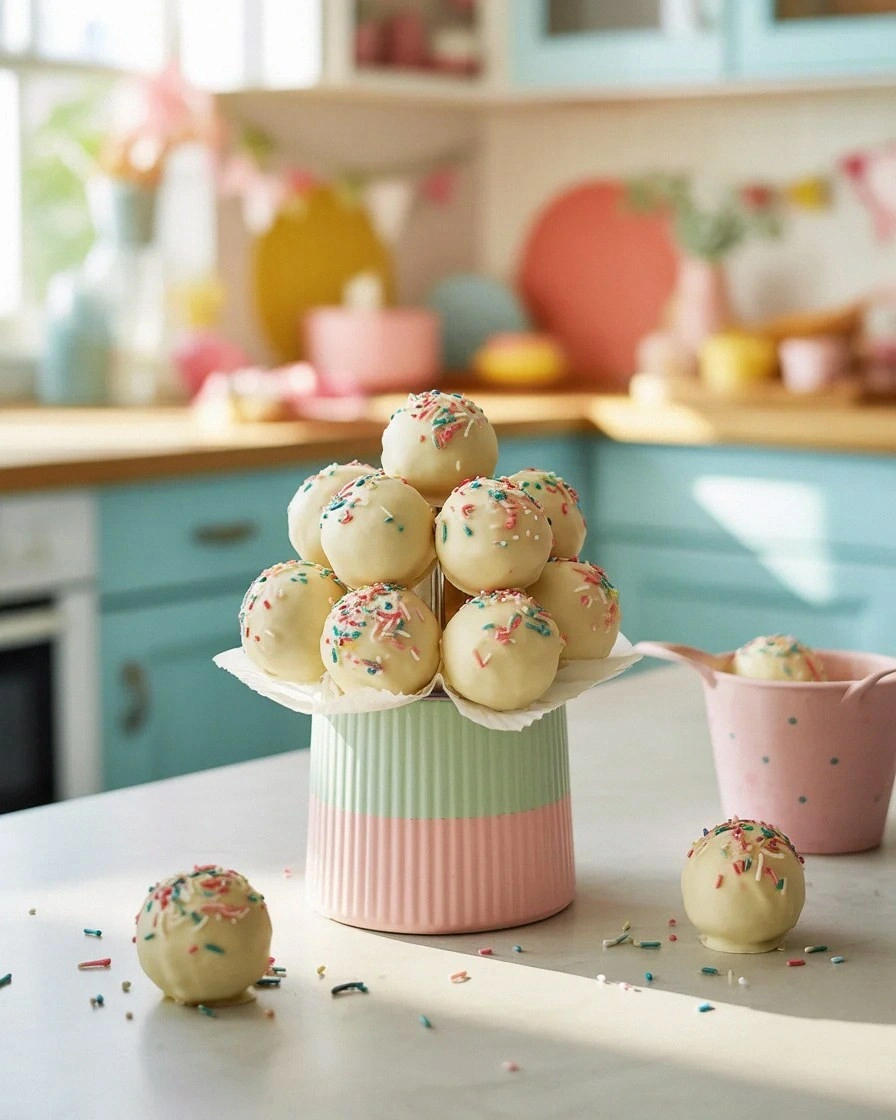
The Final Flourish
Sprinkles or chopped nuts are optional but essential for that extra pop of color and crunch. They add a playful element and can be customized to match any theme. If you’re gluten‑free, opt for sugar‑free sprinkles to keep the dish diet‑friendly.
Everything's prepped? Good. Let's get into the real action.
The Method — Step by Step
- Preheat and Prep: Set your oven to 350°F (175°C) and line a 9‑inch round cake pan with parchment paper. The parchment ensures easy release and a clean surface. This step might seem trivial, but a properly lined pan prevents the cake from sticking and ruining the presentation. Watch the timer; the cake will bake for about 30 minutes, so you have time to prepare the rest of the ingredients.
- Crush the Oreos: Place the Oreos in a large zip‑top bag and crush them with a rolling pin until they’re fine crumbs. If you’re short on time, pulse them in a food processor for 15–20 seconds. The goal is a consistent crumb size so the batter stays even. A finer crumb will give you a smoother cake, while larger pieces keep the crunch more pronounced.
- Blend with Cream Cheese: In a mixing bowl, add the softened cream cheese to the Oreo crumbs. Use a hand mixer or a sturdy spoon to blend until the mixture is homogeneous and slightly creamy. The cream cheese should coat every crumb, creating a unified dough. This step is the foundation of the cake’s texture—skip it, and you’ll end up with a crumbly mess.
- Shape the Cake: Transfer the dough onto a parchment‑lined baking sheet. Using a round cookie cutter or a small ladle, scoop portions and shape them into a flat, even circle that fits the pan. A kitchen hack here: lightly dust the dough with powdered sugar to prevent sticking while shaping. Press firmly to ensure the cake holds its shape during baking.
- Bake to Perfection: Place the pan in the preheated oven and bake for 25–30 minutes. The cake should rise slightly and develop a golden crust. It should smell like warm chocolate and vanilla. When a toothpick inserted into the center comes out clean, it’s ready. Let it cool in the pan for 5 minutes, then transfer to a wire rack to cool completely.
- Cool and Chill: Once cooled, refrigerate the cake for at least 30 minutes. This step sets the crumb structure and makes the chocolate dip adhere better. A chilled base also ensures the dip doesn’t melt too quickly during dipping.
- Melt the Chocolate: While the cake chills, melt your chosen chocolate in a heat‑proof bowl over a pot of simmering water or in the microwave in 30‑second intervals. Stir until smooth. Watch out: if the chocolate overheats, it can seize and become grainy. Use a thermometer to keep it below 120°F (49°C). This is the trickiest step because chocolate can be temperamental.
- Dip the Cake: Using a fork or a toothpick, dip each cooled cake into the melted chocolate, ensuring it’s fully coated. Tap gently to remove excess chocolate. A kitchen hack: place a parchment paper sheet on a tray and let the chocolate set for 5 minutes before adding sprinkles.
- Decorate and Set: While the chocolate is still wet, sprinkle your chosen sprinkles or chopped nuts over the cake. The chocolate will harden around the toppings, creating a beautiful contrast. Let the cake set at room temperature for 10 minutes or refrigerate for 15 minutes to ensure the glaze hardens.
- Serve and Enjoy: Slice the cake into bite‑sized pieces and serve immediately. The first bite is a symphony of flavors—sweet chocolate, tangy cream cheese, and crunchy Oreo. If you’re serving at a gathering, keep the cake on a chilled platter to maintain its texture.
That's it — you did it. But hold on, I've got a few more tricks that'll take this to another level.
Insider Tricks for Flawless Results
The Temperature Rule Nobody Follows
Chocolate is a fickle friend. The key is to keep it below 120°F (49°C) when melting. A quick test is to touch the chocolate with a fingertip; it should feel warm but not hot. If it’s too hot, it will seize and become grainy. A friend once tried to speed up the process with a microwave and ended up with a chocolate mess that needed to be discarded. Lesson learned: patience pays off.
Why Your Nose Knows Best
As the cake bakes, your nose will pick up a sweet, buttery scent that signals the perfect rise. If you smell a faint burnt odor, lower the temperature by 10°F (5°C). The aroma is a reliable indicator of doneness, so trust it more than the timer.
The 5‑Minute Rest That Changes Everything
After baking, let the cake rest for 5 minutes before moving it. This brief pause allows the steam to escape and the cake to set, preventing it from falling apart when you transfer it to a rack. A friend once rushed the cake off the pan and ended up with a collapsed mess. Resting is simple but critical.
The Subtle Crunch Boost
If you love extra crunch, fold in a handful of crushed Oreo crumbs into the batter before baking. This adds texture without overpowering the chocolate glaze. It’s a subtle tweak that makes each bite more exciting.
The Quick Chill Trick
If you’re short on time, pop the cake in the freezer for 10 minutes before dipping. The cold base ensures the chocolate sets quickly and prevents a sticky mess. Just remember to let it thaw slightly before dipping so the chocolate adheres properly.
Creative Twists and Variations
This recipe is a playground. Here are some of my favorite ways to switch things up:
Minty Marvel
Swap the chocolate for white chocolate and add a few drops of peppermint extract. The minty note pairs wonderfully with the Oreo crunch and creates a refreshing dessert.
Nutty Delight
Replace the sprinkles with chopped toasted almonds or pecans. The nutty flavor adds depth and a satisfying crunch that contrasts with the creamy center.
Caramel Crunch
Drizzle caramel sauce over the cooled cake before dipping. The caramel adds a sweet, buttery layer that complements the chocolate glaze.
Berry Burst
Fold dried cranberries or dried blueberries into the batter for a fruity twist. The berries add a pop of color and a subtle tartness that balances the sweetness.
Holiday Edition
Use holiday‑colored sprinkles and a splash of orange zest in the batter. This version is perfect for Christmas or Thanksgiving parties.
Storing and Bringing It Back to Life
Fridge Storage
Store the cake in an airtight container in the refrigerator for up to 5 days. The chilled environment preserves the chocolate glaze and keeps the crumb moist. Before serving, let it sit at room temperature for 10 minutes to soften the glaze slightly.
Freezer Friendly
For longer storage, wrap the cake tightly in plastic wrap and place it in a freezer bag. Freeze for up to 2 months. Thaw overnight in the fridge before reheating.
Best Reheating Method
To revive a frozen cake, microwave on low for 10–15 seconds or warm in a 300°F (150°C) oven for 5 minutes. Add a tiny splash of water before reheating to create steam, which helps the cake return to its original texture without drying out.